A Step-by-Step Technical Guide to Configuring an IPS on Kali Linux
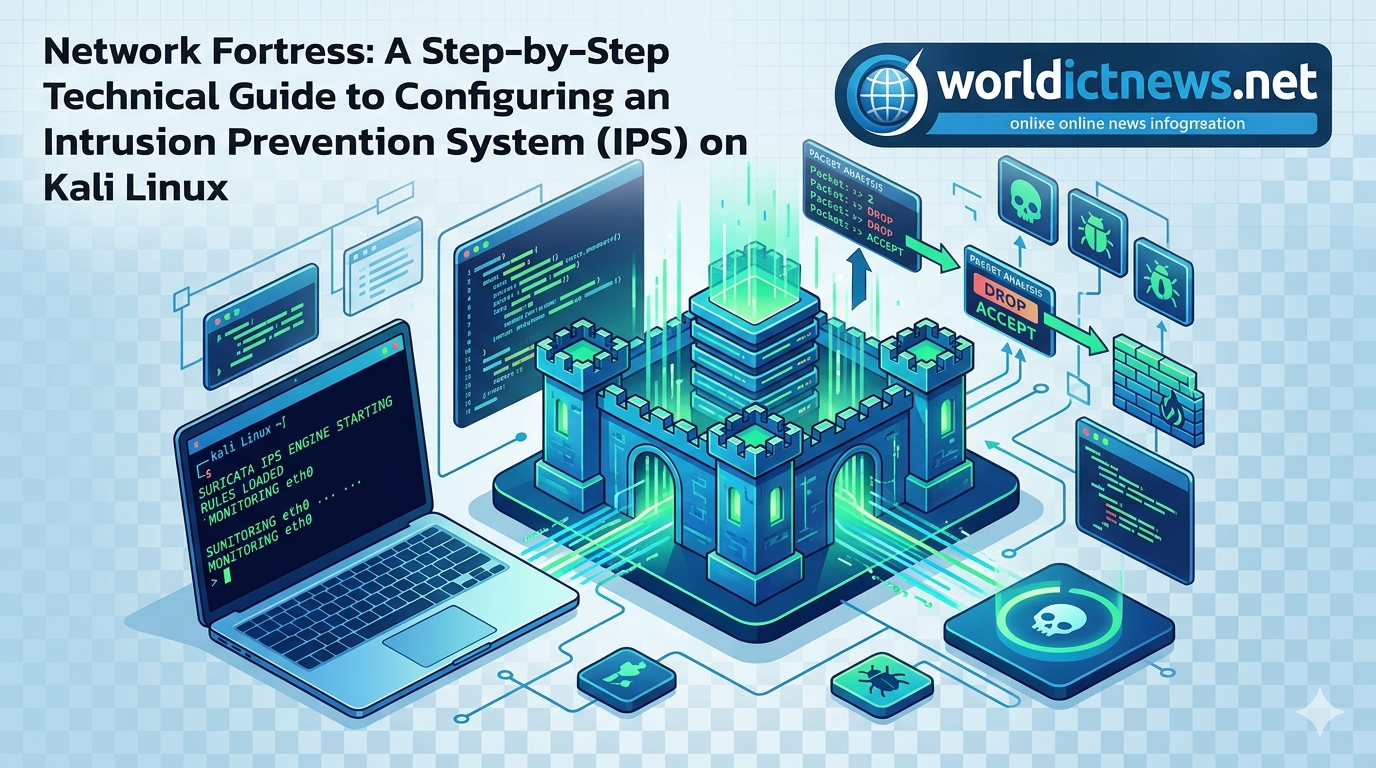
Network Fortress: A Step-by-Step Technical Guide to Configuring an Intrusion Prevention System (IPS) on Kali Linux.
In the offensive security ecosystem, Kali Linux is universally recognized as the premier toolkit for penetration testing, vulnerability assessment, and adversarial simulation. However, a deep understanding of cybersecurity requires mastering both sides of the coin. Configuring defensive security controls directly within an offensive operating system provides invaluable insights into how automated platforms detect, block, and log malicious traffic in real time.
An Intrusion Prevention System (IPS) sits inline on a network interface, actively inspecting transit packets against a comprehensive database of known attack signatures or behavioral anomalies. Unlike an Intrusion Detection System (IDS), which merely generates an alert when a threat is identified, an IPS actively intervenes by dropping malicious packets, resetting TCP connections, and dynamically updating firewall rules to block the attacking IP address.
This technical guide delivers an end-to-end operational procedure to deploy, configure, test, and maintain Suricata—an enterprise-grade, high-performance open-source IPS engine—on a Kali Linux environment using automated packet filtering hooks (NFQUEUE).
🧭 Architecture Overview: How an IPS Works Inline
Before deploying software, it is vital to understand how network packets flow through a Linux host configured as an IPS. In a standard setup, the operating system kernel handles packets automatically. To convert the system into an IPS, we must intercept this flow.
Incoming Packet ──► [ Linux Netfilter (iptables/nftables) ]
│
(Forward via NFQUEUE Hook)
▼
[ Suricata IPS Engine ]
(Signature Verification/Rules)
│
┌──────┴─────┐
▼ ▼
[ Packet Matches Rule ] [ Packet is Clean ]
Action: DROP/REJECT Action: ACCEPT
│ │
▼ ▼
(Traffic Terminated) (Sent to Destination)
By leveraging Linux Netfilter architecture (iptables), we instruct the firewall kernel to divert specified network traffic into a user-space queue (NFQUEUE). Suricata continuously polls this queue, processes each packet against its enabled ruleset, and passes a verdict (ACCEPT or DROP) back to the firewall.
🛠️ Step 1: System Preparation and Prerequisites
Before installation, update the underlying system packages to avoid dependency conflicts, verify active interface configurations, and ensure the necessary network libraries are available.
1. Update Core Repository Indexes
Open a terminal shell as root or utilize sudo privileges to refresh the system package indices and upgrade existing modules:
bash
sudo apt update && sudo apt upgrade -y
Use code with caution.
2. Identify Target Network Interfaces
Determine the explicit naming convention of your network interfaces using the IP tracking utility:
bash
ip link show
Use code with caution.
Take note of the target interface names (e.g., eth0 for wired networks or wlan0 for wireless deployments).
3. Install Required Netfilter Dependencies
Suricata requires underlying core libraries to communicate efficiently with the Linux kernel firewall queue structures:
bash
sudo apt install build-essential libpcap-dev libnetfilter-queue-dev libcap-ng-dev -y
Use code with caution.
📥 Step 2: Installing Suricata
While Suricata can be compiled directly from source code for advanced optimizations, installing it via official Debian packaging maintains system stability and simplifies routine security updates.
1. Execute the Installation Command
Run the following package manager command to download and set up Suricata along with its built-in signature management utility:
bash
sudo apt install suricata suricata-update -y
Use code with caution.
2. Verify Successful Installation
Confirm the package installed successfully by checking the compiled application binary version and verifying built-in support for NFQUEUE:
bash
suricata -V
Use code with caution.
Ensure the output indicates a stable build release and lists NFQUEUE within its enabled operational features.
⚙️ Step 3: Global Configuration File Tuning (suricata.yaml)
The primary configuration of the Suricata runtime daemon is managed within the unified YAML text file located at /etc/suricata/suricata.yaml. You will need to use a terminal text editor like nano or mousepad to update this file.
bash
sudo nano /etc/suricata/suricata.yaml
Use code with caution.
Modify the following critical structural variables to suit your local network landscape:
1. Define Network Variable Blocks
Locate the vars block near the top of the file. Update the HOME_NET variable to represent the internal network layout you intend to protect, and set EXTERNAL_NET to isolate external untrusted traffic.
yaml
vars:
address-groups:
HOME_NET: "[192.168.1.0/24]" # Replace with your local subnet range
EXTERNAL_NET: "!$HOME_NET" # Any network that is NOT your home network
Use code with caution.
2. Configure the Active Logging Directory
Ensure the default output location matches standard system logging practices:
yaml
default-log-dir: /var/log/suricata/
Use code with caution.
3. Enable Advanced IPS Mode Structures
Scroll down to the outputs configuration block and verify that the Eve log entry engine is fully activated. The eve.json output produces structured telemetry optimized for ingestion into log forwarders and SIEM systems.
yaml
outputs:
- eve-log:
enabled: yes
filetype: regular
filename: eve.json
Use code with caution.
4. Set Up the nfq Engine Configuration
Find the nfq sub-key block inside the configuration file. This instructs Suricata how to communicate with Netfilter packet queues. Ensure it is mapped correctly:
yaml
nfq:
mode: accept # Default fallback option if a rule doesn't match
repeat-mark: 1
repeat-mask: 1
Use code with caution.
Save your changes and exit the text editor (in nano, press Ctrl+O, Enter, then Ctrl+X).
📚 Step 4: Loading and Updating Threat Signatures
An IPS engine is only as effective as its signature intelligence database. Suricata uses a built-in updating application to pull down open-source threat rules compiled by the security community.
1. Pull the Emerging Threats (ET) Open Ruleset
Execute the integrated updater tool to fetch the newest attack signatures, malware profiles, and exploit patterns:
bash
sudo suricata-update
Use code with caution.
This utility automatically compiles your download rules into a single comprehensive file located at /var/lib/suricata /rules/ suricata.rules.
2. Inspecting Available Rule Sources
If you wish to discover additional specialized threat categories (e.g., abuse tracking, botnet indicators, ransomware trackers), view the available source repositories:
bash
sudo suricata-update list-sources
Use code with caution.
✍️ Step 5: Creating Custom IPS Prevention Rules
By default, the majority of public signatures pulled via suricata-update are structured as standard alert rules (IDS behavior). To actively block threats, we can create custom drop rules that drop malicious packets instantly.
1. Create a Dedicated Custom Rule File
Open a new blank rules file to append your custom testing scripts:
bash
sudo nano /etc/suricata/rules/local.rules
Use code with caution.
2. Write a Custom Drop Rule for ICMP Ping Traffic
Add a strict rule that drops any incoming ICMP echo requests (pings) coming from the outside world into your protected local machine:
text
drop icmp $EXTERNAL_NET any -> $HOME_NET any (msg:"IPS BLOCK: Unauthorized ICMP Ping Detected"; icode:0; itype:8; sid:1000001; rev:1;)
Use code with caution.
Understanding Rule Components:
drop: The action parameter. Instead of alerting, the IPS discards the matching packet completely.icmp: Protocol parameter applying explicitly to network control messages.$EXTERNAL_NET any -> $HOME_NET any: The directional path mapping traffic from external sources to your specified home network on any port assignment.msg: The descriptive string that will appear in logs when this rule triggers.sid:1000001: Signature ID. Custom rules must use a unique identifier above 1,000,000 to avoid conflicting with default systemic rules.
Save and close the file.
3. Link Local Rules to Main Configuration
Open /etc/suricata/suricata.yaml again, navigate to the rule-files: block, and ensure your new custom rule file is listed along with the main ruleset:
yaml
rule-files:
- /var/lib/suricata/rules/suricata.rules
- /etc/suricata/rules/local.rules
Use code with caution.
⛓️ Step 6: Configuring Firewall Netfilter Hooks (iptables)
Now we must configure the Linux system to pass network packets through the Suricata engine rather than processing them normally. We achieve this by adding iptables entries that forward traffic to NFQUEUE.
bash
# Redirect all incoming packets to Netfilter queue 0
sudo iptables -I INPUT -j NFQUEUE --queue-num 0
# Redirect all transit routing traffic to Netfilter queue 0
sudo iptables -I FORWARD -j NFQUEUE --queue-num 0
Use code with caution.
Review Active Rules
To verify that your firewall traffic redirect hooks are properly layered at the top of your network stack, run:
bash
sudo iptables -L -v -n
Use code with caution.
You should see NFQUEUE num 0 listed as the first target action for both the INPUT and FORWARD chains.
🚀 Step 7: Starting and Testing the IPS Execution Engine
With configuration paths set and firewall routing active, it is time to boot up Suricata in explicit IPS mode.
1. Launch Suricata in Inline Mode
Execute the operational service binary, directing it to read your main configuration file and process traffic from queue 0:
bash
sudo suricata -c /etc/suricata/suricata.yaml -q 0
Use code with caution.
Note: The -q 0 flag binds the engine process to the specific Netfilter queue matching our iptables commands.
2. Verify Logging Output Real-Time
Open a secondary terminal window to track the primary human-readable system events log output file:
bash
sudo tail -f /var/log/suricata/suricata.log
Use code with caution.
Look for lines stating Engine started and verifying that the NFQUEUE thread instances are successfully processing packets.
🧪 Step 8: Executing a Penetration Attack Simulation
To confirm that the IPS configuration is working, we can simulate an attack from a separate target system or device located on your external network.
1. Execute an Initial Attack (ICMP Ping Challenge)
From an external computer on your network, attempt to perform a standard network ping sweep against your Kali Linux IPS host:
bash
ping <KALI_IP_ADDRESS>
Use code with caution.
Observed Result:
The external attacking device will experience a total timeout, receiving no replies. If you stop the ping command, it will report 100% packet loss.
2. Verify IPS Enforcement in Logs
Return to your Kali Linux terminal and read the structured JSON log output engine (eve.json) to confirm that Suricata successfully identified and dropped the attack signature:
bash
sudo tail -n 20 /var/log/suricata/eve.json | grep "drop"
Use code with caution.
Alternatively, you can query the human-readable alerts output log directly:
bash
sudo cat /var/log/suricata/fast.log
Use code with caution.
You should see clear entries proving the IPS actively intercepted and neutralized the incoming connection:
text
05/26/2026-07:15:32.411082 [Drop] [**] [1:1000001:1] IPS BLOCK: Unauthorized ICMP Ping Detected [**] [Classification: (null)] [Priority: 3] {ICMP} 192.168.1.50 -> 192.168.1.15
Use code with caution.
🧹 Step 9: Reverting Changes and Post-Testing Cleanup
When you complete your testing, it is important to reset the Linux Netfilter tables. If you stop the Suricata service without flushing your firewall rules, your system will continue trying to push packets into a non-existent queue, completely blocking all internet access.
1. Terminate the Suricata Engine Process
In the main window where Suricata is running, press Ctrl+C to cleanly shut down the detection engine threads.
2. Flush Firewall Queues
Remove the forwarding entries from your firewall tables to restore standard kernel networking behavior:
bash
sudo iptables -F
Use code with caution.
📊 Summary Configuration Checklist
Action Step | Operational Commands | Key Focus Area |
|---|---|---|
1. Install Core Services | sudo apt install suricata suricata-update | Installs base dependencies. |
2. Update Signatures | sudo suricata-update | Downloads the newest threat rules. |
3. Configure Engine | sudo nano /etc/suricata /suricata.yaml | Sets up network variables (HOME_NET). |
4. Map Rules | Add drop syntax inside local.rules | Defines explicit blocking logic. |
5. Activate Firewall | sudo iptables -I INPUT -j NFQUEUE --queue-num 0 | Intercepts packet flow at the kernel level. |
6. Run Application | sudo suricata -c /etc/suricata /suricata.yaml -q 0 | Boots engine in active IPS enforcement mode. |
🏁 Conclusion
Configuring an Intrusion Prevention System like Suricata on Kali Linux provides valuable hands-on experience with defensive network security engineering. Transitioning an engine from a passive detection monitor (IDS) into an active inline prevention enforcement platform (IPS) requires precision at both the packet-filtering layer and the signature definition stage.
By analyzing telemetry logs generated within eve.json and understanding how custom drop rules change packet routing, you can design highly resilient modern network perimeter defenses capable of mitigating advanced real-world attacks.
Did you find this ICT insight helpful?